
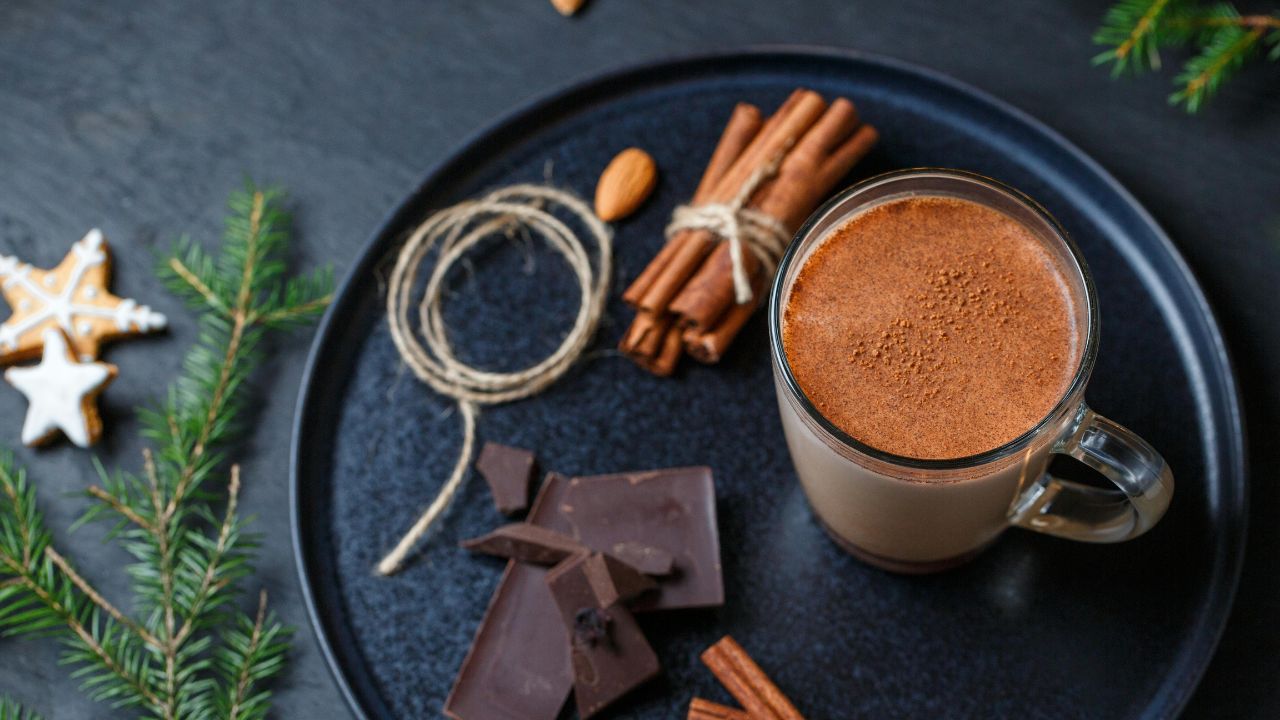
There’s a particular kind of comfort that only a thick chocolate drink can deliver—especially one that tastes like a warm brownie melted into a glass. The first time I tried recreating a brownie chocolate drink, I wasn’t aiming for something overly fancy. I just wanted that deep cocoa intensity, slightly chewy richness, and a drink that felt like dessert but still sip-able through a straw. After several kitchen trials, I realized the secret isn’t just adding more chocolate—it’s balancing cocoa fat, sugar caramelization, and milk texture so the drink becomes creamy rather than watery or overly heavy.
This version leans into that fudgy brownie personality: dense chocolate flavor, a silky body, and a slight chew-like richness from melted chocolate and cocoa butter. If you enjoy experimenting with cozy desserts, you can [Insert Home Page Link Here] and explore more easy dessert recipes that follow the same homemade comfort philosophy. This brownie chocolate drink is perfect for cold evenings, sweet cravings after dinner, or even as a weekend treat when you want something indulgent but simple enough to make in under 15 minutes.
Ingredients Serves 2 Thick Drinks
Base Ingredients
- Whole milk: 480 ml (2 cups)
- Dark chocolate (55–70%): 90 g (3.2 oz / about ½ cup chopped)
- Unsweetened cocoa powder: 15 g (2 tbsp)
- Brown sugar: 40 g (3 tbsp packed)
- Vanilla extract: 5 ml (1 tsp)
- Salt: 1 small pinch
For Brownie Depth
- Unsalted butter: 15 g (1 tbsp)
- Espresso powder (optional but recommended): 1–2 g (½ tsp)
Optional Thickening (for extra fudgy texture)
- Cornstarch: 5 g (1½ tsp) + 2 tbsp cold milk (slurry)
Why These Ingredients Matter
- Dark chocolate gives the drink its brownie-like melted richness. In my testing, anything below 55% tastes too sweet and loses depth.
- Cocoa powder intensifies the chocolate aroma and adds that slightly dry brownie bite.
- Brown sugar contributes molasses notes, which mimic baked brownie edges.
- Butter is the secret “bakery-style” enhancer—it rounds out bitterness and creates a melt-in-mouth feel.
- Espresso powder doesn’t make it taste like coffee; it sharpens chocolate flavor.
- Cornstarch slurry (optional) transforms the drink into a thick, spoonable dessert drink instead of a thin hot chocolate.
Smart Substitutions
- Dairy-free: use oat milk or almond milk (oat gives better creaminess)
- Sugar: coconut sugar works but gives a slightly earthy note
- Chocolate: milk chocolate can be used, but reduce sugar by half
- Butter: replace with coconut oil for a vegan version
Step-by-Step Method
1. Warm the Milk Slowly
Pour milk into a saucepan and heat over medium-low flame.
In my experience, rushing this step creates scalded milk flavors that ruin the chocolate balance. You want steam, not boiling bubbles. The ideal temperature is when the milk is hot enough to melt chocolate easily but still comfortable to touch if splashed.
2. Melt Chocolate into the Base
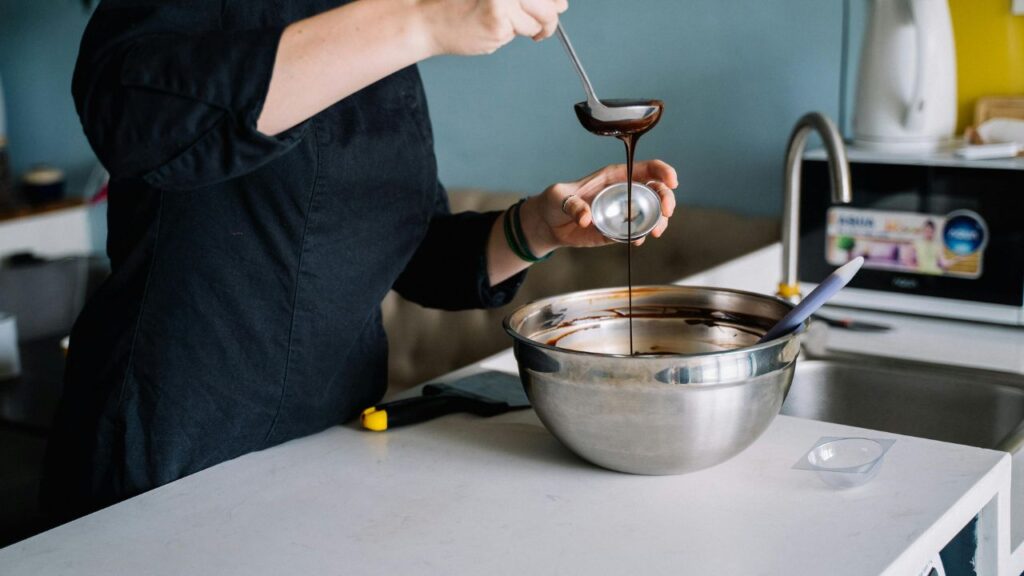
Add chopped dark chocolate and butter into the warm milk.
One trick I always use is turning off the heat at this stage and letting residual warmth do the melting. This prevents separation and keeps the drink glossy instead of grainy.
The texture should become smooth and slightly thick, like a chocolate sauce loosening into milk.
3. Add Cocoa and Sugar Gradually
Whisk in cocoa powder, brown sugar, salt, and espresso powder.
After testing this several times, I’ve found that adding cocoa slowly prevents clumping. The mixture should look deep brown and slightly frothy.
This step builds the brownie identity—it’s where bitterness, sweetness, and richness start balancing.
4. Thicken if Desired
If you want a spoonable brownie drink, mix cornstarch with cold milk and pour it in.
The texture turns out best when you stir continuously for 2–3 minutes. You’ll notice it slowly thickening into a custard-like drink.
5. Finish with Vanilla
Turn off the heat and stir in vanilla extract.
This final step is crucial. Vanilla lifts the chocolate aroma and gives that bakery-style finish that makes the drink feel like a brownie in liquid form.
Let it rest for 2 minutes before serving so flavors settle.
Technique & Food Science Insight
The richness of this brownie chocolate drink comes from fat emulsification and sugar caramelization balance.
Chocolate contains cocoa butter, which is a natural fat. When combined with warm milk proteins, it creates an emulsion—tiny fat droplets suspended evenly in liquid. This is what gives the drink its creamy mouthfeel instead of separation.
Brown sugar plays a second role: its molasses content increases viscosity slightly and enhances perceived “baked” flavor notes through light caramel chemistry.
Temperature also matters. If the milk is too hot, cocoa proteins can break, creating a gritty texture. If too cold, chocolate won’t fully emulsify, leaving oily patches.
Finally, aeration during whisking introduces micro-foam, which makes the drink feel lighter even when it’s thick.
Common Mistakes (and Fixes)
1. Grainy Texture
- Why it happens: Cocoa powder not fully dissolved
- Fix: Sift cocoa before adding
- Prevention: Whisk continuously while adding dry ingredients
2. Separated or Oily Drink
- Why it happens: Overheating chocolate
- Fix: Whisk vigorously off heat
- Prevention: Never boil milk after adding chocolate
3. Too Thin Consistency
- Why it happens: Insufficient fat or thickener
- Fix: Add a small cornstarch slurry
- Prevention: Use whole milk instead of low-fat
4. Overly Sweet Taste
- Why it happens: Milk chocolate + sugar overload
- Fix: Add cocoa powder or dark chocolate
- Prevention: Balance sugar after tasting
5. Bitter Aftertaste
- Why it happens: Too much cocoa or espresso powder
- Fix: Add a splash of milk and a pinch of salt
- Prevention: Always adjust cocoa gradually
Storage & Make-Ahead
- Room temperature: Not recommended beyond 2 hours
- Refrigeration: Store in a sealed container for up to 3 days
- Reheating: Warm gently over low heat, whisking to restore texture
- Freezing: Possible, but texture may slightly separate after thawing
Over time, the drink thickens in the fridge due to cocoa solids settling. A quick whisk or blender spin restores its original creamy consistency.
Serving Suggestions & Variations
- Brownie Milkshake Style – Chill and blend with ice cream
- Spiced Version – Add cinnamon or chili for warmth
- Nutty Twist – Stir in hazelnut or almond butter
- Extra Dessert Version – Top with whipped cream and chocolate shavings
- Iced Brownie Drink – Serve cold over ice with extra milk
- Coffee Fusion – Add espresso shot for mocha brownie flavor
Conclusion
A brownie chocolate drink is more than just hot chocolate—it’s a dessert disguised as a beverage. The key takeaway is balance: rich chocolate for depth, cocoa for intensity, milk for smoothness, and fat for that fudgy brownie feel.
When these elements come together correctly, the result is a drink that feels indulgent without being complicated. In my experience, the best versions are always the simplest ones executed carefully, especially with temperature control and proper emulsification. Once you understand the technique, you can adjust sweetness, thickness, and intensity to match your own preference. It becomes less of a fixed recipe and more of a customizable chocolate experience you can return to anytime.
FAQ’s
1. Can I make a brownie chocolate drink without dark chocolate?
Yes, but you’ll lose depth. Increase cocoa powder slightly to compensate.
2. Why is my drink not thick enough?
You likely need whole milk or a small cornstarch slurry for structure.
3. Can I serve it cold?
Yes, it turns into a rich iced chocolate drink, especially when blended with ice.
4. Is espresso powder necessary?
No, but it enhances chocolate flavor without making it taste like coffee.
5. How do I make it more brownie-like?
Increase butter slightly and use brown sugar for a baked dessert flavor profile.
