
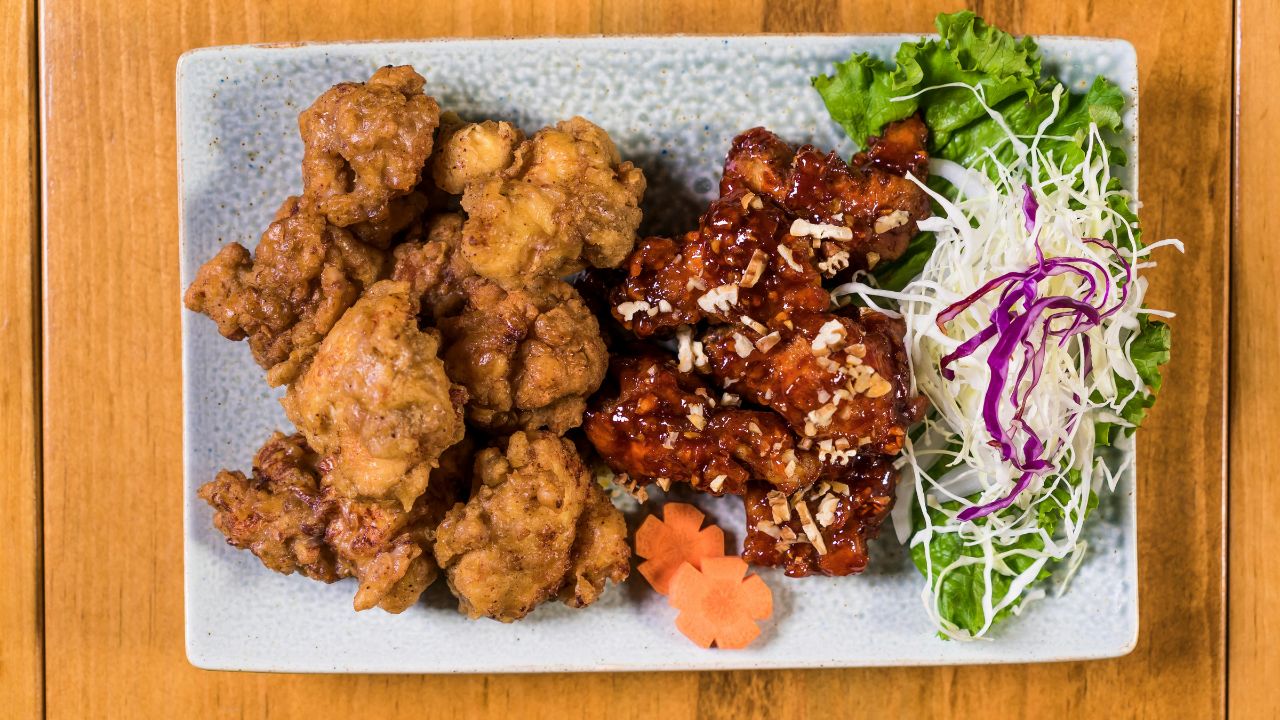
There is perhaps no dish more universally loved, yet more difficult to truly master, than fried chicken. We’ve all had those disappointing moments—biting into a piece that looks golden but turns out to be oily, or finding a beautifully seasoned crust that hides dry, tasteless meat inside. A truly great Crispy Fried Chicken Recipe is a symphony of textures: it requires a crust that shattered like glass upon impact, followed immediately by tender, succulent meat that has been seasoned all the way to the bone.
For years, I treated frying chicken as a chore—something best left to the fast-food giants. But after countless trials in my own kitchen, I realized that the “magic” isn’t in a secret laboratory; it’s in a few specific techniques that anyone can do at home. It’s about the science of moisture, the temperature of the oil, and the patience of a good brine.
Whether you’re cooking for a Sunday family dinner or a backyard picnic, this guide will take you through the nuances of southern-style frying. We aren’t just making dinner; we’re perfecting a craft. If you follow these steps, you won’t just have “good” chicken—you’ll have the kind of meal people talk about for weeks. Let’s get the oil shimmering and the flour seasoned.
Essential Supplies: Ingredients and Equipment
Before we start dredging, let’s make sure your station is set up for success. Quality ingredients are the backbone of this recipe.
The Chicken and the Brine
- Whole Chicken (approx. 3-4 lbs): Cut into 8 or 10 pieces. Using bone-in, skin-on pieces is essential for flavor and moisture.
- Buttermilk (2 cups): The lactic acid tenderizes the meat without making it mushy.
- Hot Sauce (2 tbsp): It doesn’t make it “spicy,” but it adds a vinegary depth that cuts through the richness.
- Pickle Juice (1/4 cup): A secret weapon for acidity and salt penetration.
The Seasoned Flour (The Coating)
- All-Purpose Flour (3 cups): The standard base.
- Cornstarch (1/2 cup): This is the “crispy” secret. It lowers the protein content of the flour for a lighter, crunchier texture.
- Spice Blend: 1 tbsp salt, 1 tbsp black pepper, 1 tbsp garlic powder, 1 tbsp onion powder, 1 tbsp smoked paprika, and 1 tsp cayenne pepper.
The Frying Oil
- Neutral Oil: Peanut oil is the gold standard for its high smoke point and flavor, but canola or vegetable oil work perfectly well.

Step-by-Step Instructions: The Path to Golden Glory
1. The 24-Hour Brine
Success starts the day before. In a large bowl, whisk together the buttermilk, hot sauce, and pickle juice. Submerge your chicken pieces, cover, and refrigerate for at least 4 hours, though 24 hours is ideal. This process, known as brining, ensures that the salt and moisture travel deep into the muscle fibers.
2. The Double-Dredge Method
In a large shallow dish, whisk your flour, cornstarch, and all the spices. Here is the pro tip: take 3 tablespoons of the buttermilk brine and drizzle it into the flour. Use a fork to mix it until small “shags” or clumps form. When you press the fried chicken recipe into this flour, those clumps stick to the skin, creating those extra-crispy crags you see in restaurant chicken.
Dredge each piece of chicken, pressing firmly to ensure the coating adheres. Place the coated pieces on a wire rack and let them rest for 15 minutes. This prevents the “bald spot” phenomenon where the skin slides off in the oil.
3. The Temperature Dance
Fill a heavy-bottomed pot (like a Dutch oven or cast-iron skillet) halfway with oil. Heat it to exactly 350°F. When you add the chicken, the temperature will drop. Aim to maintain the oil between 300°F and 325°F during the actual frying.
4. The Fry
Fry the chicken in batches. Do not overcrowd the pan, or the oil temperature will plummet, resulting in greasy chicken. Dark meat (thighs and legs) takes about 12–15 minutes, while white meat (breasts and wings) takes 8–12 minutes. According to USDA Food Safety Standards, poultry must reach an internal temperature of 165°F to be safe for consumption.
Pro-Tips for a Better Batter
- Room Temperature: Take your chicken out of the fridge about 30 minutes before frying. Cold chicken in hot oil creates a “shock” that can lead to uneven cooking.
- Use a Wire Rack: Never drain your fried chicken on paper towels. The steam gets trapped underneath, turning your crispy crust soggy. Always drain on a wire cooling rack set over a baking sheet.
- Season the Flour Liberally: Most of the seasoning is lost in the oil, so don’t be afraid to make your flour mixture look heavily speckled with spices.
- The Second Fry: For ultimate crunch, some chefs recommend a “double fry”—frying once at 325°F to cook through, and a second “flash fry” at 375°F for 1 minute just before serving.
Serving Suggestions: What to Plate with Your Masterpiece
A Crispy Fried Chicken Recipe is the star of the show, but it loves a good supporting cast.
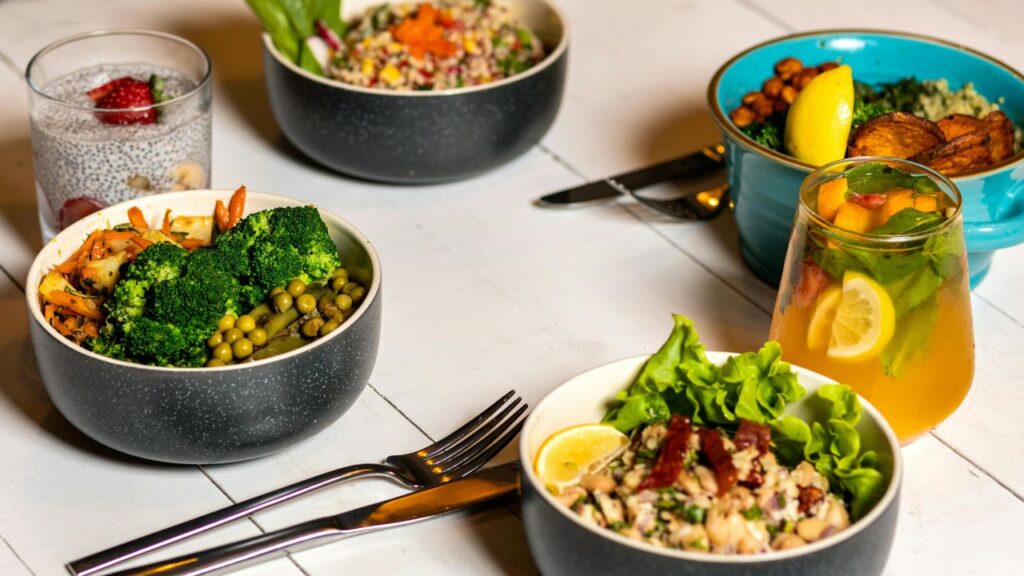
- The Classic Picnic: Serve with a side of creamy coleslaw and a honey-butter biscuit. The acidity of the slaw cuts through the fat of the chicken.
- The Modern Twist: Drizzle the chicken with spicy “hot honey” or serve it alongside our Wok Stir Fry Recipe for a unique fusion dinner.
- The Comfort Bowl: Serve over mashed potatoes with a side of gravy made from the frying drippings.
If you are looking for more chicken inspiration, try our Purple Onion Chicken Recipe for a lighter, zesty alternative.

Storage and Reheating Tips
- Fridge: Store leftovers in an airtight container for up to 4 days.
- Freezer: You can freeze fried chicken for up to 3 months, though the crust will lose some of its structural integrity.
- Reheating: Never use the microwave! To bring back the crunch, place the chicken on a wire rack in a 375°F oven for 10–15 minutes. This allows the hot air to circulate and re-crisp the skin.
Cooking Logistics at a Glance
- Prep Time: 20 minutes (plus 4-24 hours brining)
- Cook Time: 30 minutes
- Total Time: ~50 minutes
- Servings: 4–6 people
- Difficulty: Intermediate
Frequently Asked Questions
1: Can I use an Air Fryer for this recipe?
You can, but it won’t be exactly the same. For an air fryer, you must spray the flour-coated chicken liberally with oil spray so there are no dry flour spots. It will be “crunchy,” but lacks the specific richness of traditional frying.
2: Why did my crust fall off?
This usually happens if the chicken was too wet when it hit the flour, or if you didn’t let the coated chicken rest before frying. That 15-minute rest period is what “glues” the flour to the bird.
3: What is the best oil for frying?
Peanut oil is favored by professionals because it has a high smoke point (450°F) and a neutral flavor that doesn’t compete with the spices.
4: How do I know the oil is ready without a thermometer?
Dip the handle of a wooden spoon into the oil. If steady bubbles form around the wood and float up, the oil is ready. If it bubbles violently, it’s too hot.
Conclusion: Take the Leap and Fry
The Crispy Fried Chicken Recipe is more than just a meal; it’s a nostalgic experience that brings people to the table. While it might seem intimidating to deal with hot oil and multi-step dredging, the result is infinitely better than anything you can buy at a drive-thru.
By taking the time to brine your chicken and using the cornstarch-flour blend, you are ensuring a dinner that is both professional in quality and soulful in taste. So, don’t be afraid of the mess—the best things in life usually come with a bit of flour on the counter and a lot of crunch in the bite.
Henry James is the writer behind Fooodies.site, where he shares easy recipes, practical cooking guides, and simple kitchen tips for everyday home cooks. He enjoys experimenting with flavors and turning everyday ingredients into delicious, homemade meals. His goal is to make cooking feel simple, enjoyable, and achievable for everyone. He focuses on creating clear, well-tested content that readers can trust and follow with confidence.