
Have you wished for a treat that burns, crunches, and hooks you all in one go? Meet Chili killies Zingers, a wild and yummy snack that is shaking up the snack scene. These are not like plain chips or nuts; they mix airy, blown grains dipped in a bright, zappy chili dust. The name hints at a fun ride—a “zinger” of chili taste in each small bunch. Great for fun times, game night, or just a quick lift, Chili Zingers are what your snack life lacks. This talk will look at what makes them pop, their cool taste mix, and why they fit right in your food shelf for when that want hits.
What Exactly Are These Flavorful Snacks?
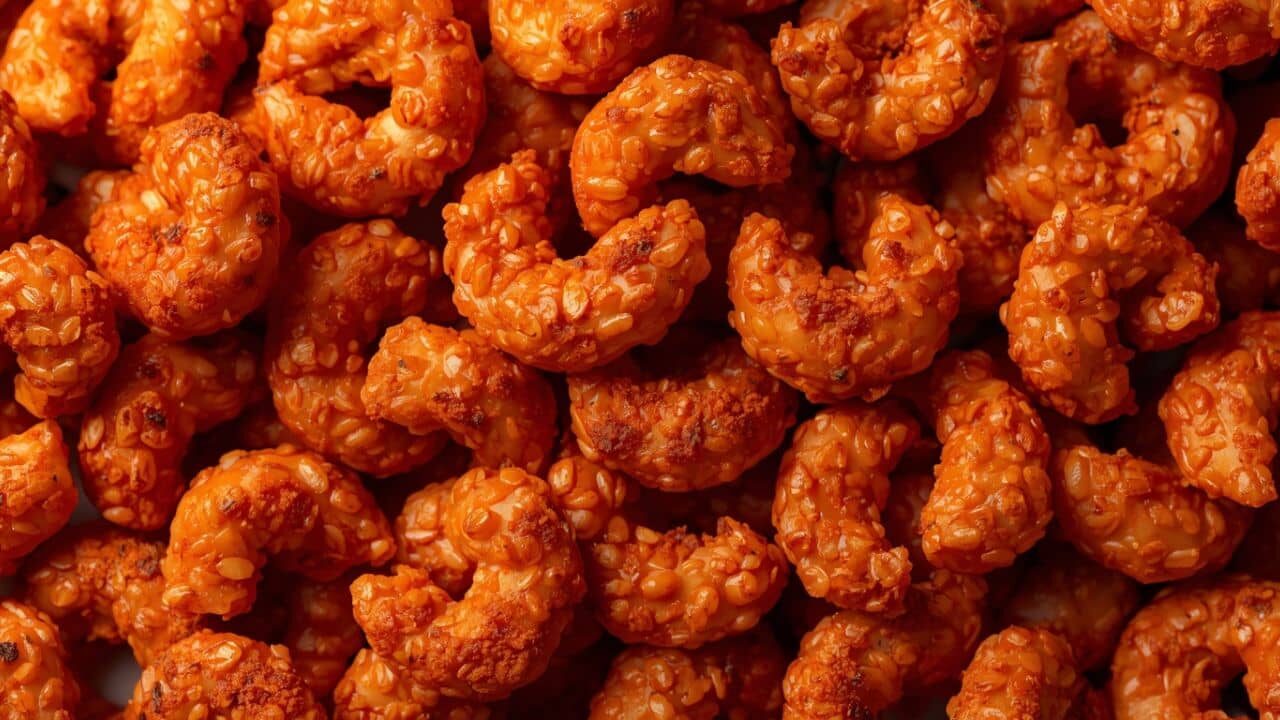
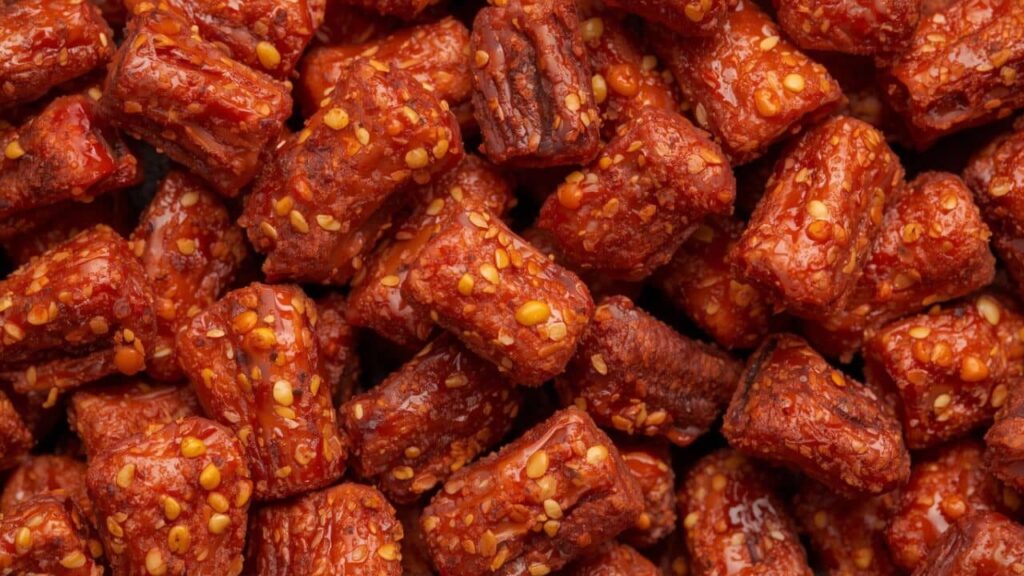
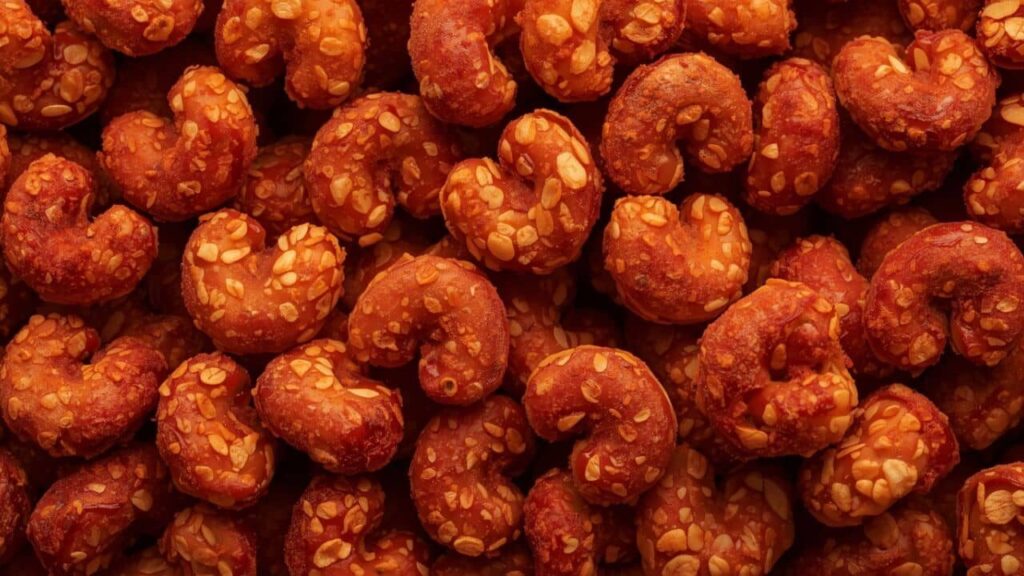
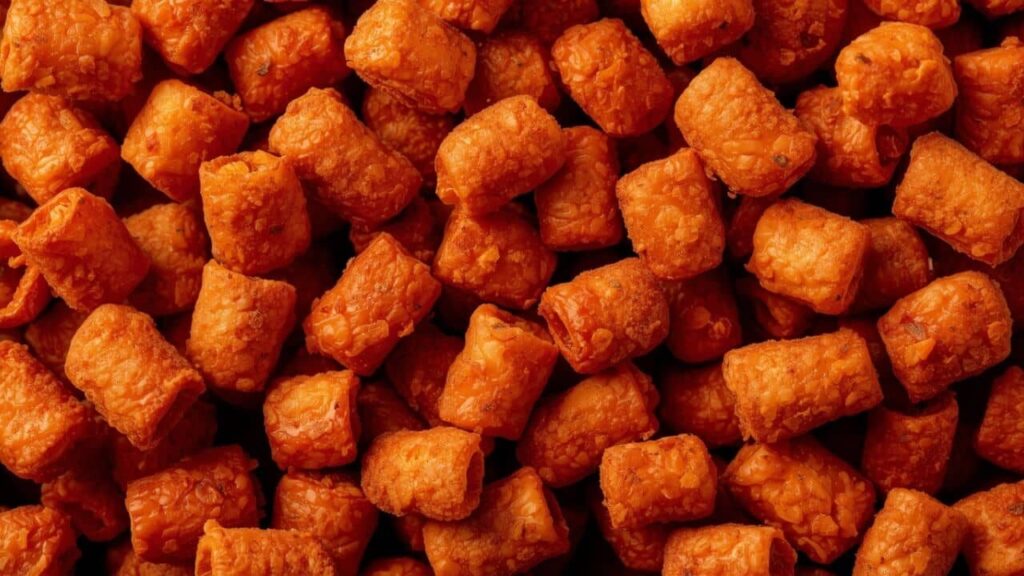
Well, what are Chili Zingers made from? At heart, they are a light, blown snack, often made from stuff like rice, corn, or more grains. This base gets changed up to make it super airy and crisp, so it just melts nice in your mouth. The real trick, though, is the flavor dust. A mix of chili bits, spices, and other good stuff is put on to coat every bit of the blown base. This means you get a big kick of taste with each bit you grab. The end is a snack that is light yet full of a hot, bold vibe that feels good and is hard to put down, so you eat more.
The Explosive Flavor Profile of Chili Killies
Chili Killies’ flavor feels like a fun ride for your mouth, making you crave more of this strangely good taste. At the start, you get a smoky heat from the chili that instantly wakes up all the flavors in your mouth in a strange way. Soon, this warmth gets mixed with soft, yummy, tart clues, which gives a cool feel to the treat’s full taste. The taste blend holds parts of garlic, onion, and maybe a lime drop to make the heat inside just right. They have a bold taste, yet they don’t burn most lips; it’s a kind glow that helps the taste more, and not too sharp. This means that people who like a little spice to people who love a medium heat can all enjoy it.
Why the Texture Makes Them So Addictive
Besides the super taste, the feel of Chili Killies is a big reason why everyone loves and can’t stop eating them. The airy grain base makes them super light and crispy, which feels great as you eat them and does not feel too heavy. Some thick snacks may fill you up fast, but Chili Killies seem to melt in your mouth, pushing you to grab another handful often. They give you the sound and feel of a crunchy crisp, but with a softer and neater way to eat for all your fingers. This special mix of a strong chili kick and light crisp makes them oddly tempting and hard to stop eating after opening.
Perfect Pairings for Your Spicy Snack
Chili Killies are cool alone, but rock with munchies or a sip. Their warm taste clicks great with cool dips like cream made from avocado or some ranch yogurt to stop the blaze. For a cool snack tray, pair them with cheese, meat, and fruit for mixed tastes that fit just fine. To drink, a cold ale or a beer like Corona or Modelo cools the lips well. If booze is not your thing, sweet tea, mango lassi, or soda helps with the spice for fun treats.
How to Incorporate Them into Your Recipes
Don’t just use Chili Killies as a snack; they can add crunch and spice to foods you make at home with ease. Break them up and use them to coat chicken or fish to add more flavor and heat to the food item. Toss them on salads, soups, plus chili (for more chili zest) to change breads and add some spice. They zing on macaroni with cheese, which brings a fresh turn to the pasta dish. For a yummy shock that wows all, mix them in burgers or meatloaf to eat up.
Finding the Best Brands and Where to Buy
As Chili Killies become liked by many, many companies now sell their cool takes on this tasty hot treat so folks can taste it. You can spot them down the world snack lane of full supermarkets, mostly in stores with Asian or Mexican eats. Fun snack stores and web shops are great spots, too, with tons of brands and hotness to pick what feels good. When picking a brand, seek those that use real stuff and mix chili spice well but not fake flavors for the true taste. Peeking at web reviews can help you grab a brand that fits how hot and what you feel you want before you buy.
Understanding the Different Heat Levels Available
Not all Chili Killies hit the same when it comes to hot power, which is good news for folks with all kinds of fire likes. Lots of brands give heat types, from “soft” that just gives a warm hug, to “super hot” for those who love a hot test on their tongue. The heat often stems from chili dusts, like cayenne, ancho, or habanero, each adding taste with the spice. It is wise to start soft if spicy snacks are new, then rise as you grow used to the burn in time. Looking at the stuff list can hint at the spice source and help you grab a treat that matches what you like in taste and heat.
The Surprising Health Considerations
Chili Killies, a strange nibble, might have secret wins if you chew them smartly in your everyday chow. They’re cooked, not dunked, so they have less oil than normal potato crisps or oily treats. Chili’s zip comes from capsaicin; some think it gives your body clock a giggly lift for a bit. But, heads up on the salt; these bites can be quite briny to boost the zing. Like any made snack, have them lightly and in bits as a fun thing, not healthy food, mixing them into your meals.
Storing Your Chili Killies for Maximum Freshness
To make sure your Chili Killies taste awesome, store them right to keep them good for longer. Damp air turns them yucky fast if you goof up where you keep them. Once you tear the bag, tip them to a locked box or bag, pushing out all air before you shut it firm. Hide this in a cool, dry nook like your shelf, away from sun or warm spots like your stove or washer. If you’re in a wet spot, add a small pouch to soak up extra wetness to keep them snappy.
Hosting with Chili Killies: A Party Favorite
If seeking a fun snack to wow folks, Chili Killies are super neat and your pals will dig them a lot. Their cool taste and good crunch make them pop on any snack spread, beating plain chips or twists with their own style. Put them in a big dish solo, or make a “snack party” with nuts, twists, and even candy bits for a cool mix. For a fancier look, sprinkle them on small bites like filled eggs or tiny toasts to jazz things up and add some snap. They go great with beers, drinks, and sodas, making them a chill and simple choice for anyone hosting.
The Global Inspiration Behind Modern Chili Killies
Chili Killies are like a mix of snacks from all over that love crunchy grains and zippy chili spice. They’re similar to snacks like Japanese arare (rice snaps) and Indian mix, which have crispy stuff covered in hot, neat spices. They also got a nod from Mexican snacks, where chili-lime dust goes on fruit, nuts, and corn bits. This world mix makes Chili Killies shine—they grab the best bits from cool food styles and mash them into a snack that’s hard to put down. More folks are liking these world tastes, so Chili Killies can be a hit for snack fans who want bold tastes in a bag that’s easy to grab and munch.
Creating Your Own Homemade Version
Though Chili Killies from stores are quick, a yummy home kind allows total ingredient control, setting spice to what you love. Start with plain puffed rice or corn circles as base—a light thing that’s crisp for spices. Make your taste with chili bits, garlic bits, onion bits, a pinch of salt, plus smoky paprika or hot cayenne for zing. To coat well, mist the puffs with oil or water drops, then mix with your spice mix in a big tub. Then, bake on a sheet at low heat (about 250°F) for half an hour to get them crisp, which sticks spice while keeping the airy feel that makes Chili Killies oddly good versus oily stuff.
Chili Killies vs. Other Snacks: Your Quick Comparison Guide
Thinking about Chili Killies next to your snacks? This list shows key steps to help pick your best spicy bite.
| Feature | Chili Killies | Potato Chips | Tortilla Chips | Mixed Nuts |
| Base Ingredient | Puffed grains | Sliced potatoes | Corn tortillas | Various nuts |
| Texture | Light, airy, crispy | Thin, crunchy, sometimes greasy | Firm, sturdy crunch | Hard, dense crunch |
| Flavor Profile | Spicy chili, smoky, tangy | Salty, sometimes flavored | Corn-forward, salty | Natural, savory, sometimes roasted |
| Typical Use | Snacking, recipe topping | Solo snacking, with dip | With salsa/dip | Snacking, trail mix |
| Preparation | Often baked | Usually fried | Fried or baked | Roasted or raw |
| Best For | Spice lovers, light snackers | Classic chip fans | Dip enthusiasts | Protein seekers |
Pro-Tip: For kicks, toss Chili Killies on creamy stuff like mac and cheese or chili. The airy crunch and fire give contrast that chips can’t. These puffs drink less water, staying crispier than heavy stuff.
Conclusion
Chili Killies are strange snacks that nail the chili taste with an airy, crisp feel that is cool. They work on their own, mixed in meals, or given out at hangouts. If you dig spice or new stuff beyond the norm, find these for your stash. Next time you are shopping in person or online, watch for Chili Killies and get ready for a treat that brings a nice hit of taste in each bite. Your mouth will love you for the tasty ride and fresh find.
FAQs
1. What exactly are Chili Killies made of?
These grains are like air, popped like rice or corn, wearing a chili spice jacket. What you get is a snack that’s airy and crunchy, with a warm chili flavor that’s just right. It’s nice when you want something spicy and great.
2. How spicy are they really?
It banks on the brand, but most sit at mild to medium heat. The spice is a cozy burn that creeps up instead of blasting you. Some brands have heat levels so you can pick what fits your spice level.
3. Where can I buy Chili Killies?
Look through global treats at big stores, mostly those with Asian or Mexican foods. Also, check quirky snack shops and web stores that have many cool choices.
4. Can I cook with them?
Sure, pound them up for zesty breading on chicken or fish, toss on salads and soups to get crunchy, or mix them in patties. They jazz up daily meals with heat and texture.
5. Are they a healthy snack option?
They’re baked, not dunked in oil, so they have less fat than your regular bag of chips. But, watch the salt in spices. Munch is sometimes like a fun bite, not a wellness food.