

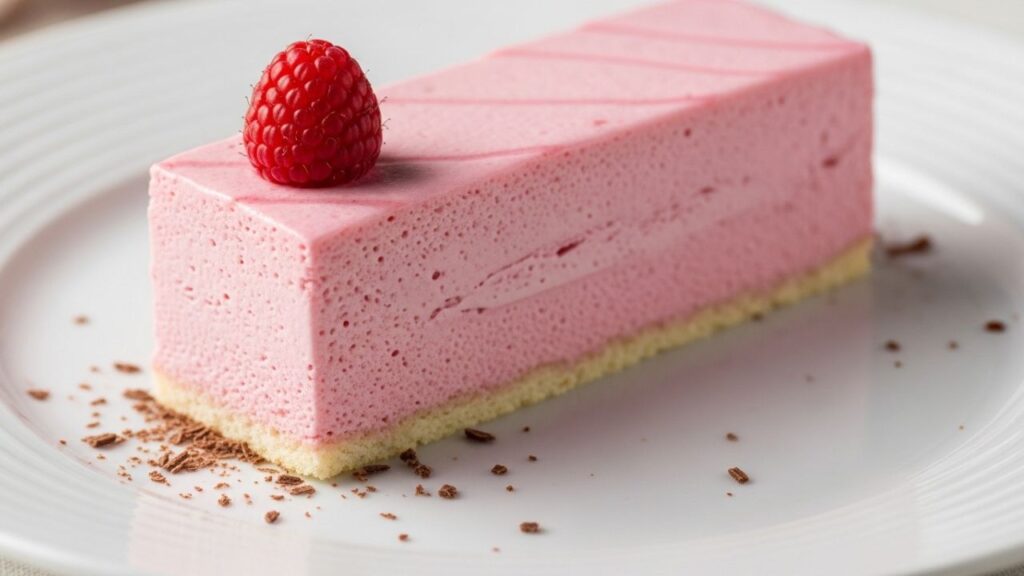
There is a specific kind of magic found in “icebox” pies that modern, overly complicated patisserie just can’t replicate. When the humidity hits and you can’t even think about preheating the oven, a Kool-Aid pie is the vintage-inspired lifesaver every home cook needs. If you’ve never had one, imagine a cross between a silky cheesecake and a light-as-air fruit mousse, all tucked into a buttery graham cracker crust.
After years of testing different variations of this recipe in my own kitchen, I’ve realized that its simplicity is its greatest strength, but also its biggest pitfall. Because there are so few ingredients, the quality and the technique—specifically how you handle the aeration—make the difference between a firm, sliceable masterpiece and a soupy mess. I’ve spent many summer afternoons perfecting the ratio of tartness to creaminess so that the final result isn’t just “sugar-sweet,” but genuinely refreshing.
Before we dive into the science of the set, feel free to explore more easy dessert recipes to round out your summer menu.
The Ingredient Breakdown: Why Ratios Matter
To get that perfect “clean slice” look, you need to understand how these four primary ingredients interact. This isn’t just about mixing things in a bowl; it’s about chemistry.
1. The Flavor Catalyst: Drink Mix
- Measurement: 1 packet (approximately 0.13 oz or 3.9g)
- Role: This provides the acid, the color, and the concentrated flavor. Because the powder is unsweetened, we control the sugar via the other ingredients.
- Pro Tip: Stick to the classic flavors like Black Cherry, Tropical Punch, or Lemonade for the best color payoff.
2. The Creamy Base: Sweetened Condensed Milk
- Measurement: 1 can (14 oz or 396g)
- Role: This acts as the binder. The high sugar content and milk solids provide the structure. When the citric acid in the drink powder hits the condensed milk, a process called acid-mediated thickening begins, similar to how lime juice sets a Key Lime pie.
3. The Aerator: Whipped Topping (or Stabilized Whipped Cream)
- Measurement: 8 oz (226g)
- Role: This is what makes the pie a “mousse” rather than a dense fudge. It introduces air bubbles that stay trapped in the fat matrix.
- Substitution: If you prefer real heavy cream, you must whip it to stiff peaks with a bit of cream of tartar or gelatin to ensure it doesn’t deflate after 24 hours.
4. The Foundation: Graham Cracker Crust
- Measurement: 1 standard 9-inch crust (approx. 170g)
- Role: Provides a salty, textured contrast to the smooth filling.
- Note: I’ve found that a homemade crust (crushed crackers + melted butter + a pinch of salt) holds up better against the moisture of the filling than the store-bought versions.
Step-by-Step Method: The Path to the Perfect Set
After testing this several times, I’ve found that the order of operations is more important than the mixing speed. Follow these steps to ensure a velvety texture.
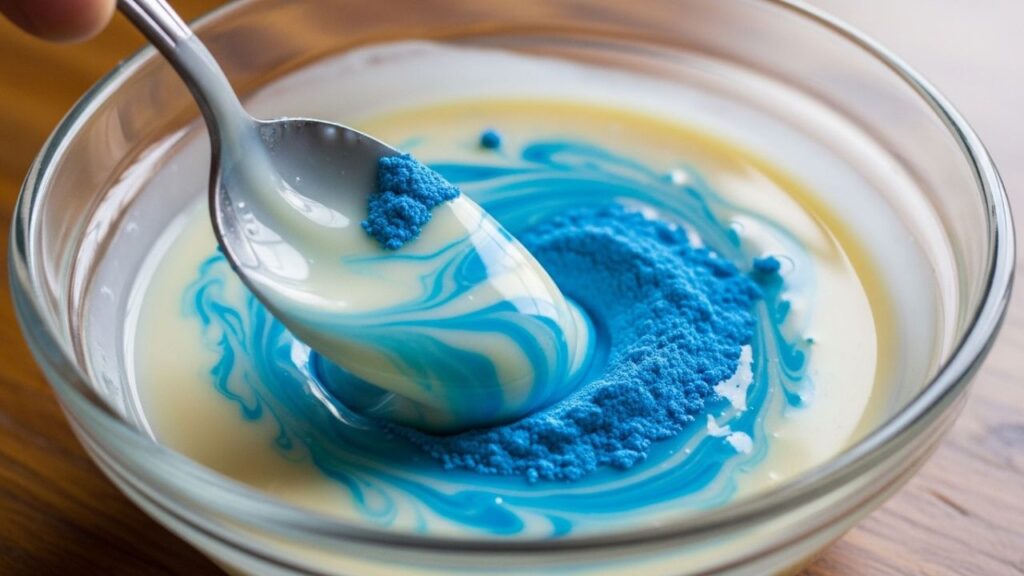
Step 1: The Acid-Milk Premix
In a large glass bowl, pour in your sweetened condensed milk. Sprinkle the drink mix packet directly over the milk. Using a silicone spatula, stir slowly until the color is uniform. Why it matters: You want the citric acid to fully dissolve in the milk before adding the air (whipped topping). If you add the powder last, you’ll end up with gritty pockets of sour crystals.
Step 2: The “Lightening” Phase
Add about one-quarter of your whipped topping to the milk mixture. Don’t worry about being gentle here; stir it in until well combined. One trick I always use: This “sacrificial” scoop thins out the heavy condensed milk, making it easier to fold in the rest of the topping without crushing the air bubbles later.
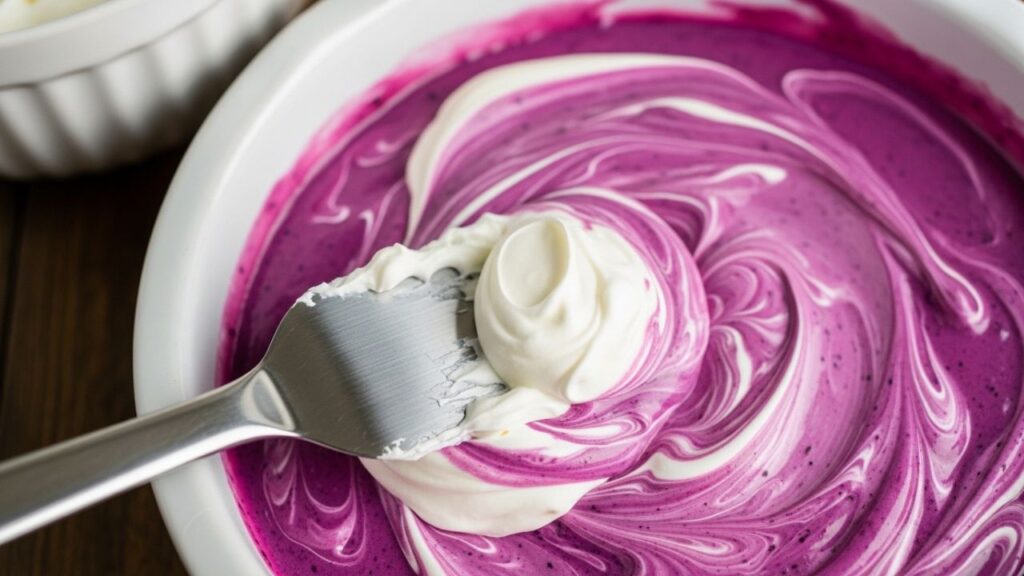
Step 3: The Fold
Add the remaining whipped topping. Using a large, sweeping motion, cut down through the center, scrape the bottom, and fold the mixture over itself. Rotate the bowl as you go. Visual cue: Stop as soon as no white streaks remain. The texture turns out best when it looks like a thick, pillowy cloud. Over-mixing at this stage will cause the pie to lose its height and turn “rubbery.”
Step 4: The Pour and Level
Gently spoon the mixture into your crust. Use an offset spatula to push the filling toward the edges, then create a slight dome in the center. In my experience, the pie looks most professional when the edges are clean and the center has soft “peaks” rather than being perfectly flat.
Step 5: The Essential Chill
Cover the pie loosely with plastic wrap (or the plastic lid that comes with store-bought crusts—just flip it over!). Refrigerate for at least 4 hours, though 12 hours is ideal. Timing tip: If you try to slice this before the 4-hour mark, the center will likely sag. The fat in the dairy needs time to re-solidify.
The Science of the “Cold Set”: Why It Firms Up
The Kool-Aid pie is a fascinating example of protein denaturation. Even though we aren’t baking it, a chemical reaction is occurring inside your refrigerator.
Sweetened condensed milk is packed with casein (milk protein). When you introduce the highly acidic drink mix, the pH of the mixture drops. This acidity causes the casein proteins to lose their repelling charge and start clumping together. This creates a mesh-like structure that traps the fats and water in the mixture.
This is why the pie becomes “sliceable” even without gelatin or eggs. However, temperature is the final key. For this protein mesh to remain stable, the fats must remain in a solid or semi-solid state. If the pie sits out at a backyard BBQ for more than an hour, the fat in the whipped topping begins to melt, and the protein structure loses its “scaffolding,” leading to a collapsed dessert.
Common Mistakes and How to Fix Them
1. The “Soup” Syndrome (Filling won’t set)
- Why it happens: This usually occurs if you used “liquid” drink concentrate instead of powder, or if you used a low-fat/fat-free version of condensed milk.
- The Fix: If the mixture is already in the crust and won’t firm up, place it in the freezer for 2 hours. Serve it as a “frozen”kool aid pie instead.
- Prevention: Always use full-fat sweetened condensed milk and dry powder mix.
2. Grainy or Gritty Texture
- Why it happens: The drink mix didn’t dissolve properly, or the whipped topping was still partially frozen when folded in.
- The Fix: There isn’t an easy fix once it’s set, but serving it with a dollop of fresh whipped cream can mask the texture.
- Prevention: Ensure your whipped topping is fully thawed in the fridge (never the microwave) and whisk the powder into the milk vigorously before folding.
3. Soggy Crust
- Why it happens: The moisture from the filling has migrated into the graham crackers. This happens if the pie sits for more than 3 days.
- The Fix: Scrape the filling into a bowl and serve it as a “mousse” with fresh cookies on the side.
- Prevention: “Blind bake” your graham cracker crust for 8 minutes at 350°F (175°C) and let it cool completely before filling. This creates a toasted barrier that resists moisture.
4. The “Neon” Stain
- Why it happens: Some flavors (like blue raspberry) have very intense dyes that can stain ceramic pie dishes or plastic spatulas.
- The Fix: Use glass bowls and glass pie plates to prevent permanent discoloration.
- Prevention: Avoid using wooden spoons, which are porous and will soak up the food coloring instantly.
Storage and Make-Ahead Guidance
This is the ultimate make-ahead dessert because it actually tastes better on day two.
- Refrigeration: Keep the kool aid pie covered in the refrigerator for up to 5 days. After day 3, you may notice some “weeping” (small droplets of water on the surface), but it is still safe to eat.
- Freezing: This pie freezes beautifully! Wrap it tightly in a double layer of plastic wrap and then foil. It will stay fresh for up to 3 months.
- Serving from Frozen: I’ve found that serving it straight from the freezer gives it a texture similar to premium ice cream. If you prefer the mousse texture, let it thaw in the fridge for 30 minutes before slicing.
- Room Temperature: Do not leave this pie out for more than 60-90 minutes. Because of the high dairy content and the whipped topping base, it will lose its structural integrity quickly in the heat.
Creative Variations to Try
Once you master the base recipe, you can start getting creative with the “add-ins.”
- The Creamsicle: Use Orange mix and fold in a teaspoon of pure vanilla extract and half a cup of drained, crushed pineapples.
- Berry Lemonade: Use Lemonade mix but fold in a handful of fresh, halved raspberries before the final chill.
- The “Key Lime” Cheat: Use Lime mix and swap the graham cracker crust for a gingersnap crust. The spice of the ginger pairs perfectly with the tart lime.
- Parfait Style: Skip the crust entirely. Layer the filling in wine glasses with fresh berries and crushed Nilla wafers for a more “sophisticated” dinner party presentation.
Conclusion
The beauty of the Kool-Aid pie lies in its nostalgia and its refreshing, tangy profile. While it may seem like a simple “back-of-the-box” recipe, paying attention to the aeration during the folding process and allowing for a full overnight chill will elevate it from a basic sweet treat to a staple in your summer dessert rotation.
Remember, the chemistry of the acid reacting with the milk proteins is what does the heavy lifting here. As long as you don’t rush the process and keep your ingredients cold, you’ll produce a pie that is as beautiful to look at as it is easy to eat. Don’t be afraid to experiment with different flavor combinations—there are no rules when it comes to finding your favorite “signature” color. Get into the kitchen, grab a whisk, and enjoy the simplest slice of summer you’ll ever make.
5 SEO-Friendly FAQs
1. Can I use evaporated milk instead of sweetened condensed milk?
No. Evaporated milk lacks the high sugar content and thick consistency required to react with the acid in the drink mix. Your pie will not set and will remain a liquid.
2. Is this pie gluten-free?
The filling itself is naturally gluten-free. To make the entire dessert gluten-free, simply use a gluten-free graham cracker crust or a crust made from crushed gluten-free sandwich cookies.
3. Do I need to add extra sugar to the mix?
No. The sweetened condensed milk contains all the sugar necessary. Adding more will result in a cloying, unpleasantly sweet dessert.
4. Why is my pie blue?
The color of the pie is determined entirely by the flavor of the drink mix you choose. If you used Blue Raspberry or “Great Bluedini,” the pie will be a vibrant blue. For a more “natural” look, Pink Lemonade or Cherry are popular choices.
5. Can I use Greek yogurt instead of whipped topping?
You can, but it will significantly change the texture and tartness. If using yogurt, you may need to add a stabilizer like dissolved gelatin to ensure the pie holds its shape when sliced. For food safety guidelines on handling dairy-based desserts, you can consult the USDA Food Safety website.
Author Experience
I have spent over a decade developing recipes that bridge the gap between vintage “comfort” food and modern culinary techniques. My kitchen philosophy is built on the idea that no recipe is too simple to be perfected. Having made hundreds of no-bake pies for community potlucks and family gatherings, I’ve learned exactly how ambient temperature and ingredient brands affect the final set. I believe that understanding the “why” behind a recipe—like the kool aid pie reaction in this pie—is what turns a home cook into a confident baker.