
Store-bought protein bars often look appealing but end up tasting dry or overly processed. For a fun and innovative homemade dessert option, check out Cake in a Can, which offers a new twist on indulgence. After trying many options, I started making my own at home for better taste and cleaner ingredients. These Stars and Honey Protein Bars are a simple no-bake recipe built around honey, oats, nut butter, and protein powder. They’re easy to prepare, store well, and work as a quick snack or post-workout bite.

The Core Ingredients: Why Every Gram Counts
Making protein bars at home means each ingredient plays an important role in both texture and flavor, as seen in the culinary revolution in food preparation led by innovative chefs.Making protein bars at home means each ingredient plays an important role in both texture and flavor. This recipe is designed for an 8×8 inch pan and yields about 10–12 bars.
1. The Binder: Raw Honey (170g / 1/2 Cup)
- Honey holds everything together and adds natural sweetness. Raw honey tends to work better because of its thicker consistency and richer flavor compared to highly processed versions.
2. The Base: Old Fashioned Rolled Oats (180g / 2 Cups)
- Oats provide structure and slow-digesting carbohydrates, making the bars more filling. For a slightly smoother texture, you can pulse half of the oats briefly in a blender.
3. The Protein: Whey or Plant-Based Isolate (90g / 3 Scoops)
- Why it matters: This is the muscle-building component.
- One trick I always use: Use a vanilla-flavored powder to complement the honey. If you use unflavored protein, you must add an extra teaspoon of vanilla extract to avoid a flat taste.
4. The Fat: Creamy Almond or Peanut Butter (250g / 1 Cup)
- Nut butter helps bind the mixture and adds richness. Make sure it’s well mixed before using, as separated oil can affect the final texture.
5. The Stars: Seeds and Crunch (60g / 1/2 Cup)
- A mix of chia seeds, sunflower seeds, and hemp seeds adds crunch and extra nutrients. They also give the bars a speckled, textured look.
Step-by-Step Method: From Bowl to Bar
Step 1: The Warm Melt
Gently warm the honey and nut butter together until they become easy to mix. This helps everything combine smoothly without cooking the ingredients.
Step 2: The Dry Integration
Fold in the oats, protein powder, and seeds. I’ve found that adding the protein powder last prevents it from clumping. If you rush this step and dump the powder directly into the hot honey, it can cook the protein, leading to that dreaded chalky texture.
- Texture Cue: The dough should be very stiff. If you can stir it easily, it’s too wet—add another 1/4 cup of oats.
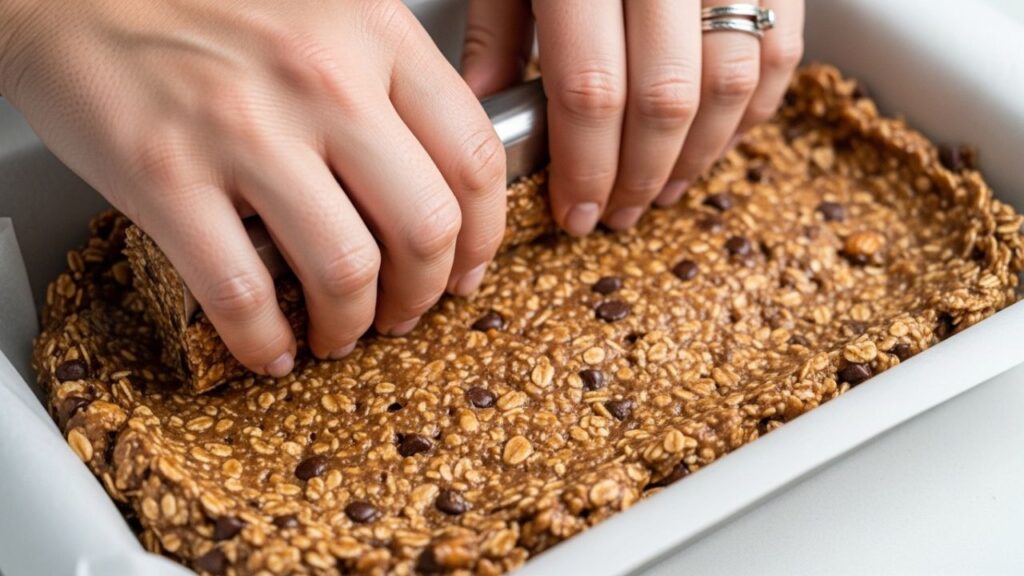
Step 3: The Press
Line an 8×8 pan with parchment paper and transfer the mixture inside. Press it down firmly using another sheet of parchment and a flat object like a measuring cup. Proper pressing helps the bars hold their shape later.
Step 4: The Star Topping
Sprinkle extra seeds or toppings on top while the mixture is still slightly soft. Lightly press them in so they stick after chilling.
Step 5: The Essential Chill
Refrigerate the mixture for at least 4 hours, or overnight if possible. This allows the bars to firm up properly and makes slicing easier.
The Chemistry of Honey Crystallization
Honey works well as a natural binder because it thickens when combined with dry ingredients and cooled. In this recipe, it helps hold the oats, protein, and nut butter together without the need for artificial syrups or additives.
As the mixture chills, the fats in the nut butter firm up and the honey stabilizes the structure. This creates a chewy but firm texture. If stored at room temperature, the bars soften slightly, which many people actually prefer. For more general food science information about honey, resources from The National Honey Board can be helpful for understanding its natural properties.
Common Mistakes: Why Bars Fail
1. The Crumbly Mess
- This usually happens when there isn’t enough binder. Adding a bit more honey or nut butter helps improve cohesion.
2. The Sticky Fingers Syndrome
If the bars feel too soft, they likely haven’t chilled long enough. Refrigeration or brief freezing helps firm them up.
3. Chalky Aftertaste
- This is usually caused by low-quality protein powder. Adding cinnamon, vanilla, or a pinch of salt can improve flavor balance.
4. The Soggy Oat Problem
- Why it happens: Heating the honey and nut butter to a boil.
- The Fix: None—the oats will remain soft.
- Prevention Tip: Only warm the ingredients until they are pourable, never bubbling.
Storage and Make-Ahead Guidance
These bars store very well when kept properly. Room temperature: Good for a few hours, best for short periods
Refrigerator: Up to 2 weeks in an airtight container
Freezer: Up to 3 months when wrapped individually

Serving Suggestions & Seasonal Twists
- The Dark Galaxy: Add a small handful of dark chocolate chips for a richer flavor.
- The Autumn Star: Mix in pumpkin spice for a seasonal variation.
- The Morning Glory: Add dried cranberries and orange zest for a fresh, fruity taste.
- The Salty Star: Finish with a light drizzle of melted chocolate and a pinch of sea salt.
Conclusion
Homemade protein bars are an easy way to control ingredients while still enjoying a convenient snack. This recipe focuses on simple pantry staples that come together quickly and store well. The key is balance—enough honey and nut butter to bind everything, and enough dry ingredients to give structure. If you’re interested in mastering easy-to-make homemade snacks, check out our guide to homemade chicken nuggets. Once you get the texture right, you can adjust flavors and mix-ins to match your preferences.
FAQ’s
1. Can I make these protein bars vegan?
Yes, you can replace honey with brown rice syrup or maple syrup, though texture may vary slightly.
2. Why are my protein bars so hard after being in the fridge?
They may have been over-chilled or contain too much nut butter. Letting them sit at room temperature helps soften them.
3. Are stars and honey protein bars gluten-free?
They can be gluten-free if you use certified gluten-free oats.
4. How do I stop the bars from sticking to the parchment paper?
Make sure the bars are fully chilled before removing them. Slightly greasing the paper can also help.
5. Can I use a different sweetener like Stevia?
No, because stevia does not provide binding structure. Honey is needed for texture as well as sweetness.
Henry James is the writer behind Fooodies.site, where he shares easy recipes, practical cooking guides, and simple kitchen tips for everyday home cooks. He enjoys experimenting with flavors and turning everyday ingredients into delicious, homemade meals. His goal is to make cooking feel simple, enjoyable, and achievable for everyone. He focuses on creating clear, well-tested content that readers can trust and follow with confidence.