
Basic Baking Techniques is often described as a science guide, and while that sounds intimidating, it’s actually a comforting thought. It means that if you follow certain “laws” of the kitchen, you are almost guaranteed a delicious result. However, many beginners find themselves frustrated when a recipe doesn’t turn out as expected, despite following the instructions. Usually, the culprit isn’t the recipe itself, but a misunderstanding of the fundamental techniques happening behind the scenes.
Whether you are dreaming of a lofty sponge cake or a crusty loaf of sourdough, the principles remain the same. I spent years wondering why my cookies were flat or my muffins were tough until I realized I was rushing the basics. If you are ready to transform your kitchen into a successful home bakery, you should explore more easy recipes to put these new skills to the test.

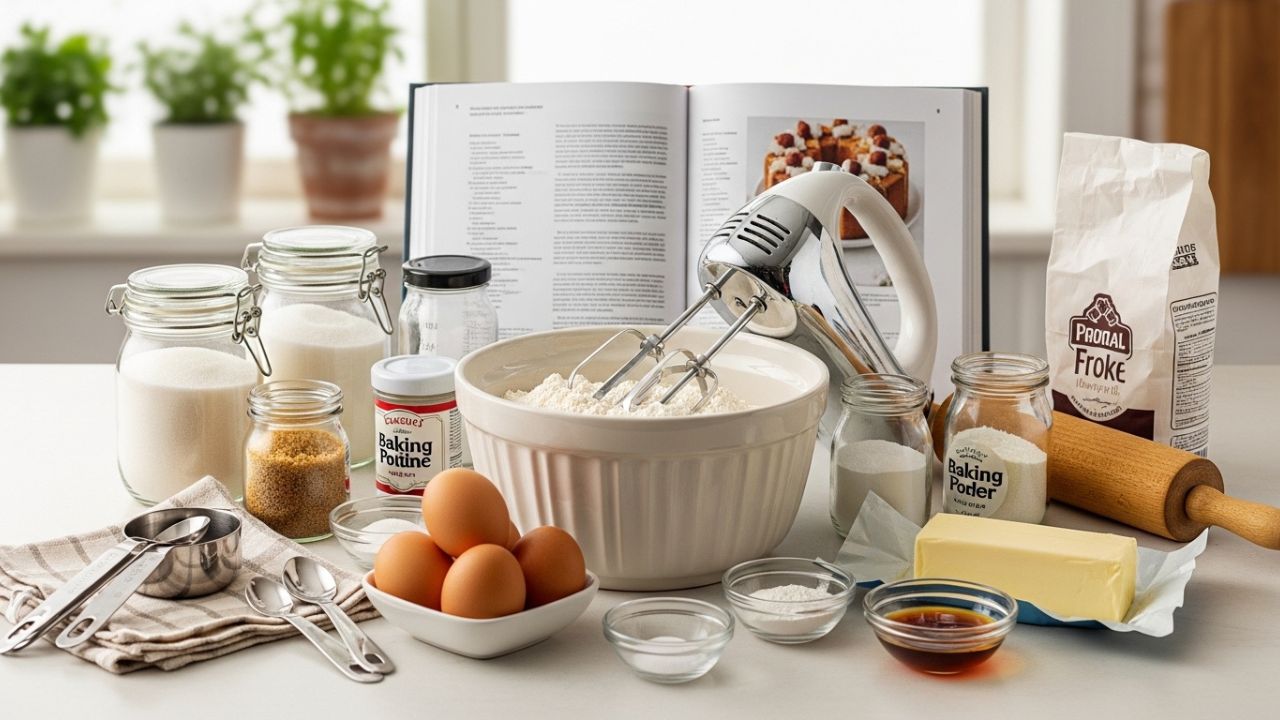
The Art of Precision: Measuring Ingredients
The most common reason for baking failure is incorrect measurement. Unlike cooking a savory stew, where you can “eyeball” the salt or onions, baking relies on specific chemical reactions. In my experience, the difference between a cup of flour dipped from the bag and a cup of flour spooned into the measuring cup can be as much as 20 grams. That extra flour is enough to turn a moist cake into a dry, crumbly mess.
The “Spoon and Level” Method
If you don’t own a kitchen scale yet, this is the only way to measure dry ingredients. Use a spoon to fluff up the flour in the container, gently spoon it into your measuring cup until it overflows, and then use the back of a knife to level it off. Never pack the flour down.
The Digital Scale Advantage
After testing this several times, I can confidently say that switching to a digital scale was the single biggest improvement I made in my baking. Measuring in grams (weight) rather than cups (volume) ensures consistency every single time. It also means fewer measuring cups to wash!
Temperature Matters More Than You Think
We often see “room temperature ingredients” in recipes and ignore it, thinking it’s a suggestion. It’s not.
- Butter and Eggs: When butter is at room temperature (18 degrees C to 20 degrees C), it can hold air when creamed with sugar. If it’s too cold, it won’t aerate; if it’s too warm, it will melt, and your cake will be dense.
- The Oven: Most home ovens are liars. The dial might say 175 degrees C (350 degrees F), but the actual temperature could be 10 or 20 degrees off. One trick I always use is keeping a cheap oven thermometer inside at all times. It’s a small investment that prevents burnt edges and raw centers.

Mixing Methods: Beyond the Spoon
How you combine your ingredients determines the final texture of your bake. Understanding the “why” behind these methods will help you avoid the dreaded “over-mixed” texture.
1. The Creaming Method
This is the heart of most cake and cookie recipes. You beat softened butter and sugar together until the mixture is pale and fluffy. I’ve found that most people stop too early. You aren’t just mixing; you are beating microscopic air bubbles into the fat. This air expands in the oven, giving your cake its lift.
2. The Folding Technique
When you see a recipe call for “folding,” put down the whisk and grab a rubber spatula. This is used when you have a light, aerated component (like whipped egg whites) that you need to incorporate into a heavier batter.
- How to do it: Cut through the center with the spatula, scrape the bottom, and fold the batter over the top. Turn the bowl as you go. The goal is to keep as much air in the mixture as possible.
3. Cutting in Fat
Used for biscuits and pie crusts, this involves “cutting” cold solid fat (like butter or lard) into flour until it resembles coarse crumbs. The goal here is the opposite of the creaming method: you want the fat to stay cold and intact. When those little nuggets of butter hit the hot oven, the water in them evaporates, creating steam and leaving behind those beautiful, flaky layers.
Common Baking Pitfalls
Even with the best intentions, things can go sideways. Here are a few things to keep an eye on:
- Opening the Oven Door Too Soon: We all want to peek, but opening the door lets out the heat and can cause a delicate cake or soufflé to collapse before the structure has set.
- Over-mixing the Flour: Once the flour touches the wet ingredients, gluten begins to develop. For bread, we want lots of gluten. For cakes and muffins, we want as little as possible. Mix just until the white streaks of flour disappear.
- Not Greasing Properly: There is nothing more heartbreaking than a beautiful cake that won’t leave the pan. I recommend using a combination of butter and a light dusting of flour, or parchment paper for a guaranteed release.

Storage and Freshness
Once you’ve achieved baking guide perfection techniques, you need to keep it that way.
- Cakes: Most cakes are best kept at room temperature in an airtight container. Refrigeration can actually dry out the crumb.
- Cookies: Store them with a small piece of white bread in the container. The cookies will absorb the moisture from the bread, staying soft for days.
- Bread: Never store fresh bread in the fridge. Keep it in a paper bag on the counter for a day, or slice and freeze it immediately for long-term use.
For more information on the chemistry of leavening agents like baking soda and powder, the King Arthur Baking School offers deep dives into ingredient functionality.
FAQs
1. What is the difference between Baking Soda and Baking Powder?
Baking soda is a base that needs an acid (like buttermilk or lemon juice) to react and create bubbles. Baking Techniques powder contains its own acid and is activated by moisture and heat guide. They are not directly interchangeable!
2. Can I use All-Purpose flour for everything?
Usually, yes. AP flour is designed to be a middle-ground. However, using Bread Flour (high protein) will make your breads chewier, while Cake Flour (low protein) will make your cakes softer.
3. Why did my cake sink in the middle?
This usually happens if the oven temperature was too low, the cake was moved before it set, or you used too much leavening agent (which causes the cake to rise too fast and then collapse).
4. Does the order of ingredients really matter?
Yes. For example, adding eggs one at a time to creamed butter prevents the emulsion from breaking. Following the specified order ensures the right chemical bonds are formed.
5. How do I know if my yeast is still alive?
“Proof” it by dissolving it in warm water (40 degrees C) with a pinch of sugar. If it doesn’t become foamy within 10 minutes, the yeast is dead, and your bread won’t rise.
Conclusion
Baking Techniques is a journey of constant learning guide. Don’t be discouraged by a sunken cake or a tough muffin; every “failure” is just a lesson in how ingredients interact. By slowing down, measuring accurately, and respecting temperatures, you’ll find that the “magic” of baking is actually a series of manageable, logical steps.
Henry James is the writer behind Fooodies.site, where he shares easy recipes, practical cooking guides, and simple kitchen tips for everyday home cooks. He enjoys experimenting with flavors and turning everyday ingredients into delicious, homemade meals. His goal is to make cooking feel simple, enjoyable, and achievable for everyone. He focuses on creating clear, well-tested content that readers can trust and follow with confidence.