
Have you had those times when food needs some magic touch? That zap of zest, that cool snap, that odd turn makes one ask, “What’s this inside?” We live for that moment, thus we made Pickle X. Not grandma’s pickle, though we love those too. It’s a new kind—a brave, made pickle treat for food fans who want more. We tell you Pickle X is what your cookery lacks and the reason your next jar must be from us. Let old add-ons go; boost your crunch, switch your meals, taste a fun trip that starts with one good bite. Your mouth is set. And you?
What Makes Pickle X Different? A Commitment to Craft & Flavor
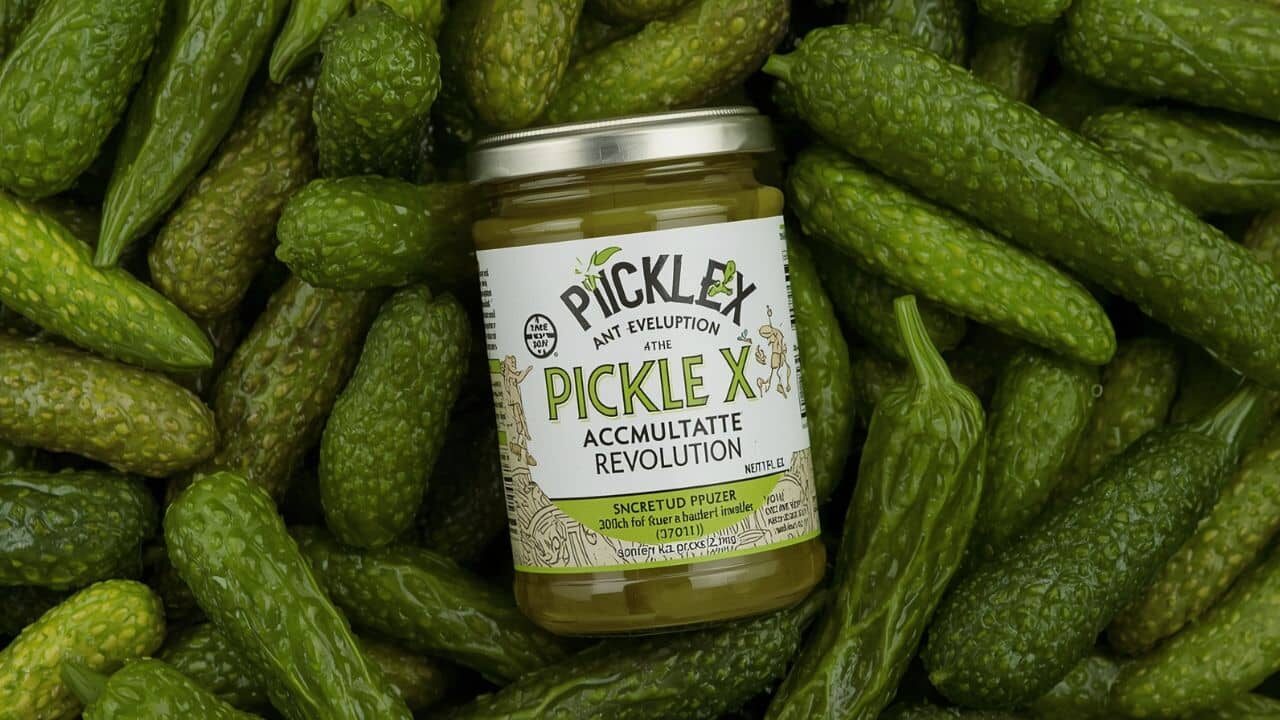
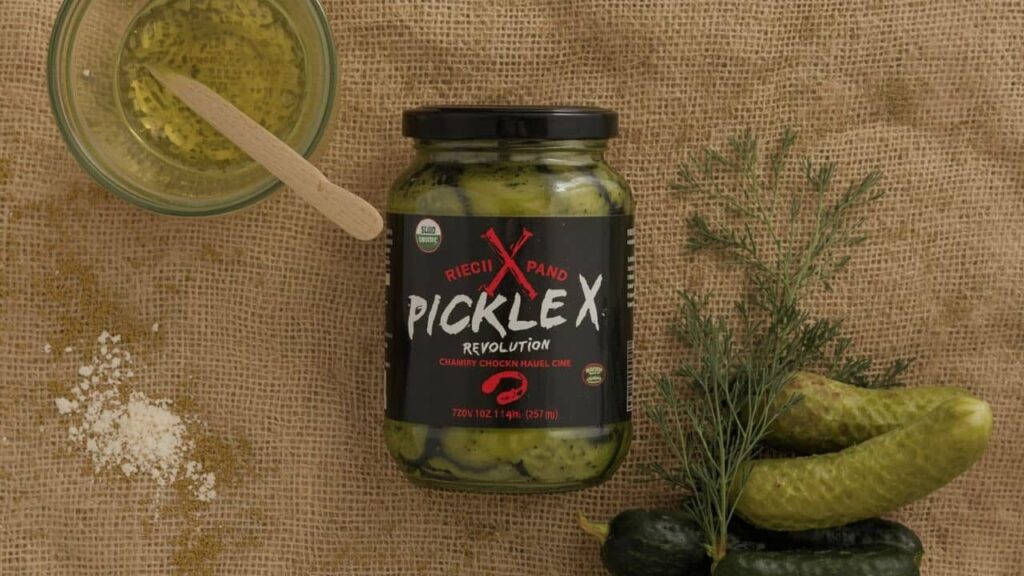
When you get our Pickle X, you pick a thing built on new rules. We pass by plain juice and dill. We start with the best, sharpest cukes we find, and pick types for their cool snap. Then, we make small-batch salty soaks stewed with care, mixing top juices, rich salts, and layers of full, nice spices. Here our key pickle change happens: by new fusions like smoky chili, new radish, old booze spices, or tart apple juice. We shun fake tastes, dyes, or stuff to keep it fresh. Each jar is packed by hand for top form, making a pickle with deep taste and a sharp snap that can’t be matched. This close skill is what splits a need from a make, and it’s why our Pickle X gives a taste fun you can’t find on store shelves.
Explore Our Signature Flavors: Find Your New Favorite Crunch
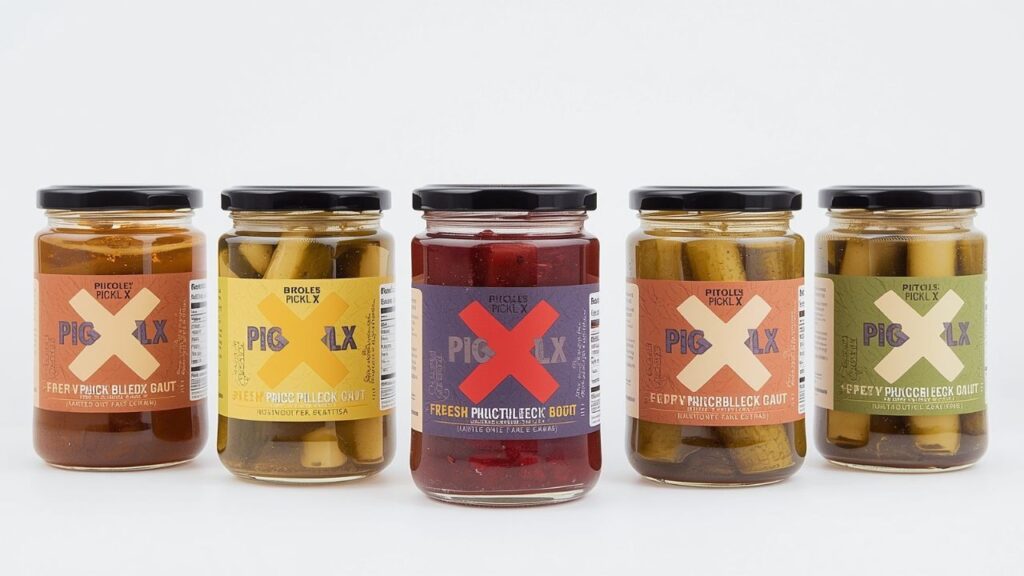
We think all mouths need their right pickle match, so we’ve built a line of great Pickle X types that feed all wants. For those who love a classic with some punch, our Garlic Dill Dynamo has three times the garlic and a bit of habanero for a slow burn. If you love sweet and hot, our Sweet Heat Blondies are cool, with hints of turmeric, sweet onion, and a hot end from crushed red spice. Brave eaters go for our Umami Bomb Mushroom & Herb, where good shiitake mushrooms and rosemary make a deep yum, almost meat-like taste. For true dreamers, our Pickle X Reserve tries odd pairs like beet and ginger or blue and sage. Each taste is a full sense trip, made not just to go with food but to lift it. See our group and find the pickle that calls you.
Transform Everyday Meals with the Power of Pickle X
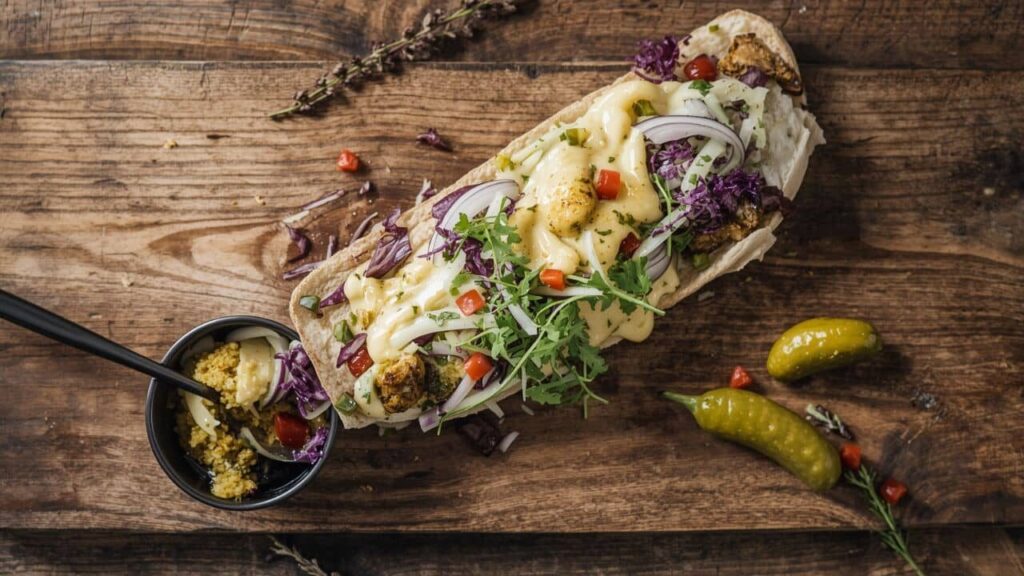
A can of Pickle X acts as the finest, biggest change to make when you cook daily. See it as your food wonder tool. Cut our Hot Bread bits and mix in a chicken salad for pop and taste jump. You can turn lunch into fun. Cube our Garlic Dill bits into smooth pasta or potato for tart blast to shock tastes. Brine is gold, too. A bit of our Sweet Heat makes a great sauce for meat or bold dip for spuds. We built Pickle X for food fun to shift it from plate edge to dish core. When you use ours, you add a pickle; you add a bold, cool taste that makes food nice.
The Proof Is in the Crunch: Why Quality Ingredients Matter
You taste the change good stuff makes, and with Pickle X, that part is real. We get peak stuff, and work with farms for fresh stuff you see. Our herbs are full and mashed here for big pop, and we use clean water and nice vinegars for a clean brine base. This look at cute pickle things means a good feel, a snap sound with each taste and clean flavor that sits well. No dark stuff, no bad brines, and no soft foods. When you grab our kind, you get a clean, good thing. You grab a pickle where stuff, from plant to seed, is there to make it taste grand.
Experience the Artisan Difference
In food made fast, we love our small lot. Each lot of Pickle X is made in bits, which let us watch each step with love. This means the same taste, full jars, and the hand pick of each food into a can. This hand way is slow and takes work, but it is how we know the good stuff we want and you need. It says that when you pop a jar, you get stuff made with love, not just on a line. This cool love makes fans behind our name. Folks just don’t buy one; they see a win, fun talk, and a dish thing to trust to wow, time and time.
The Direct Path to Purchase: How to Bring Pickle X Home
Deciding to boost your munch should feel like savoring it, nice and easy. We made some smooth ways for you to get Pickle X right to your kitchen and kick off your taste trip. The quickest way is our main website, where you can check out all our cool stuff, read fun notes about each kind, and get your picks sent to your home. If you like picking things out yourself, our cool jars hang out in the cold special spots of fancy grocery stores, yummy markets, and town food clubs all over; just find the closest shop on our site. So you never miss a new flavor or cool update, come join our special Pickle X Fan Club, where we send a box of our latest tasty stuff to your house every few months. Each path we give makes things easy and promises that the awesome stuff we make gets to you just right.
The Tangible Benefits: More Than Just a Tasty Snack
Picking Pickle X brings some real goodies that make your food life better in ways you can see. First, you get a super taste helper for cooking. Instead of grabbing lots of spices to make food deep and rich, a bit of cut-up Pickle X or its tangy juice can add the sour, salty, yummy, or hot you need. Second, you put money into honest food. When there are so many confusing labels, our clean list of things inside makes you feel good and fits with eating smart. Third, you help small food makers and local farms we work with, helping a food world that loves great stuff over lots of stuff. In the end, you get awesome food that saves you time cooking, makes meals better without trying hard, and helps make food in a way we all like.
Our Guarantee: A Crunch You Can Trust
We support each separate pot of Pickle X through a simple vow: strange quality and joy. From when we pick our stuff to the final lid on the pot, our way is set by hard rules to keep flavor, feel, and safety top-notch. We know that testing a new cool thing is a pick, and we want you to feel confident in yours. If our Pickle X doesn’t fit your hopes for any cause—if the munch isn’t great, the taste isn’t loud, or it just isn’t your thing—we give a full refund, no fuss. Your faith is the base of our name, and we vow to hold it up with each bite. This vow is how we say we trust so hard in how well we do things that we will back it, so your look at our tastes is risk-free and just for fun.
Your Next Step: Join the Community of Flavor Pioneers
When you grab Pickle X, you’re doing more than buy a pot of pickles; you’re in a cool group of food fans, home cooks, and taste pathfinders who think daily eats should be a quest. We ask you to link with us and other fans on social sites, where we share odd recipes, sneak peeks into our place, and cool news about new tastes. Tag us in your works using PickleXPower to show how you’re using our thing to change your meals. This group is a spot to share ideas, get pep, and love the loud, the crunchy, and the yummy. Your trip with Pickle X starts with one pot, but it unlocks a world of fun cooking and ties. We are excited to peek—also, to munch—what you cook up real good.
Pickle X vs. The Ordinary: Your Guide to a Better Crunch
Picking a great pickle has more than flavor, it must fit your own snacking style. This list breaks down just how our Pickle X stands out from the same old pickle pot, from the start to the last, good snap.
| Feature | Pickle X (Artisan Craft) | Standard Supermarket Pickles | Why the Difference Matters to You |
| Production Scale | Small-Batch, Hand-Packed | Mass-Produced, Automated | Consistent Quality & Care: Small batches ensure every jar gets meticulous attention for perfect flavor and texture. |
| Core Ingredients | Premium Cucumbers, Whole Spices, Craft Brines | Standard Cucumbers, Processed Spices, Basic Brine | Superior Flavor & Texture: High-quality, fresh ingredients create complex layers of flavor and an unmistakably crisp, loud crunch. |
| Flavor Innovation | Unique, Bold Profiles (e.g., Sweet Heat, Umami Bomb) | Limited, Traditional (Dill, Sweet, Bread & Butter) | Culinary Adventure: Our pickles are designed to be a star ingredient that transforms meals, not just a side garnish. |
| Ingredient Integrity | Clean Label. No Artificial Flavors, Colors, or Preservatives. | Often Contains Artificial Colors (Yellow 5), Preservatives. | Transparency & Trust: You get a pure, recognizable product with nothing to hide. What you see on the label is what’s in the jar. |
| Versatility | Designed as a Recipe Ingredient (chop, brine, garnish). | Primarily a Condiment (side spear or burger topping). | More Value & Creativity: Our pickles and their brines are kitchen power tools for marinades, dressings, and recipes. |
The Core Thing: If you prize skills, loud taste, and pure stuff, Pickle X is your right pick. It’s a smart boost for your shelves that turns daily eats into a more tasty, good time. Keen to taste the split? Look at our tastes and bring home the munch that shifts what a pickle can be.
Conclusion
Up for jumping in and tasting how Pickle X flips the script? Snagging this zing for your place is a snap. Peep our site to scope every flavor, dig into the deets, and grab jars sent straight to you. We’ve got cool mixed packs, killer for spotting your top pick or sparking a flavor craze. Our wild jars also chill in the cold spots of fancy food shops, cool markets, and posh delis. Hit our store finder to nail down a spot near you. Real fans should peek at our Pickle X Crew for a flavor box every few months with our freshest drops and shocking combos, so you’re always in the loop. A tastier shelf is just a click or jaunt away. Find out why peeps are hooked on Pickle X and nothing else.
FAQs
1. What makes Pickle X better than regular pickles?
Our Pickle X gets made with love in tiny batches using boss cucumbers and wild spice mixes. We dig neat tastes and skip fake things, giving cool crunch and great flavor that are not in normal jars.
2. Are there any artificial ingredients?
Nope, never. We brag about our clean list. Our goo is made with grade-A vinegars, rich salts, and full spices—no fake flavors, dyes, or savers here.
3. How should I use Pickle X besides just eating them straight?
Get wild. Dice them in salads, swirl into chicken goo, or spike drinks. We make our pickles to kick up any dish.
4. Where can I buy Pickle X?
You can order from our site to your door, or peep our store finder to see where our jars chill in fancy shops and cool markets.
5. Do you offer a subscription?
For sure. Join our Pickle X Crew for a box of fresh drops and limited flavors every few months. It’s the easiest way to stay crunchy.