
There’s something deeply satisfying about the sound of food turning perfectly crisp in a hot pan. A well-made frying saucer delivers exactly that experience—golden edges, a tender center, and a crunch that feels almost irresistible.
Think of it as a cross between a savory pancake and a fritter. It’s simple in concept, but achieving that ideal texture takes a bit of understanding, similar to creating creative fried treats that delight at parties. When done right, it becomes the kind of snack that quietly disappears faster than expected at any table. Getting there isn’t just about mixing ingredients. It’s about learning how heat, moisture, and texture work together once the mixture hits the pan.
What Exactly Is a Frying Saucer?
At its core, a frying saucer is a thin, round mixture cooked in a shallow layer of oil. Unlike thick pancakes or heavily battered fritters, it is intentionally kept light and flat so it cooks quickly and crisps evenly.
This thin shape is what makes it special. More surface area means more contact with heat, which leads to better browning and richer flavor.
Across different cuisines, you’ll find similar ideas—vegetable fritters, potato pancakes, and flattened pakoras all follow this same principle. What sets the frying saucer apart is its focus on even crispness from edge to center.
Why Surface Area and Thickness Matter
The success of this dish comes down to basic cooking science. As soon as the mixture hits hot oil, moisture inside begins to evaporate. That steam creates tiny air pockets, helping the inside stay light while the outside develops a crust.
If the mixture is too thick, the center struggles to cook before the outside browns too much. If it’s too thin, it may break apart or become overly brittle. In most cases, a medium-thin layer works best—thick enough to hold together, but thin enough to crisp properly.
Essential Ingredients for a Balanced Base
A good frying saucer starts with simple, everyday ingredients:
- Grated potatoes or mixed vegetables like carrots or zucchini
- Finely chopped onions for flavor
- One egg to bind everything together
- A small amount of flour or starch
- Salt and basic seasoning
- Oil for shallow frying
The key is balance. You want just enough binder to hold everything together without turning the mixture heavy or dough-like. The vegetables should still feel noticeable, not lost in the mixture.t the texture of the main ingredients to remain visible and present.
Achieving the Perfect Fry
Consistency comes from technique more than guesswork. For inspiration, explore these easy appetizer recipes that also rely on careful preparation and frying techniques.
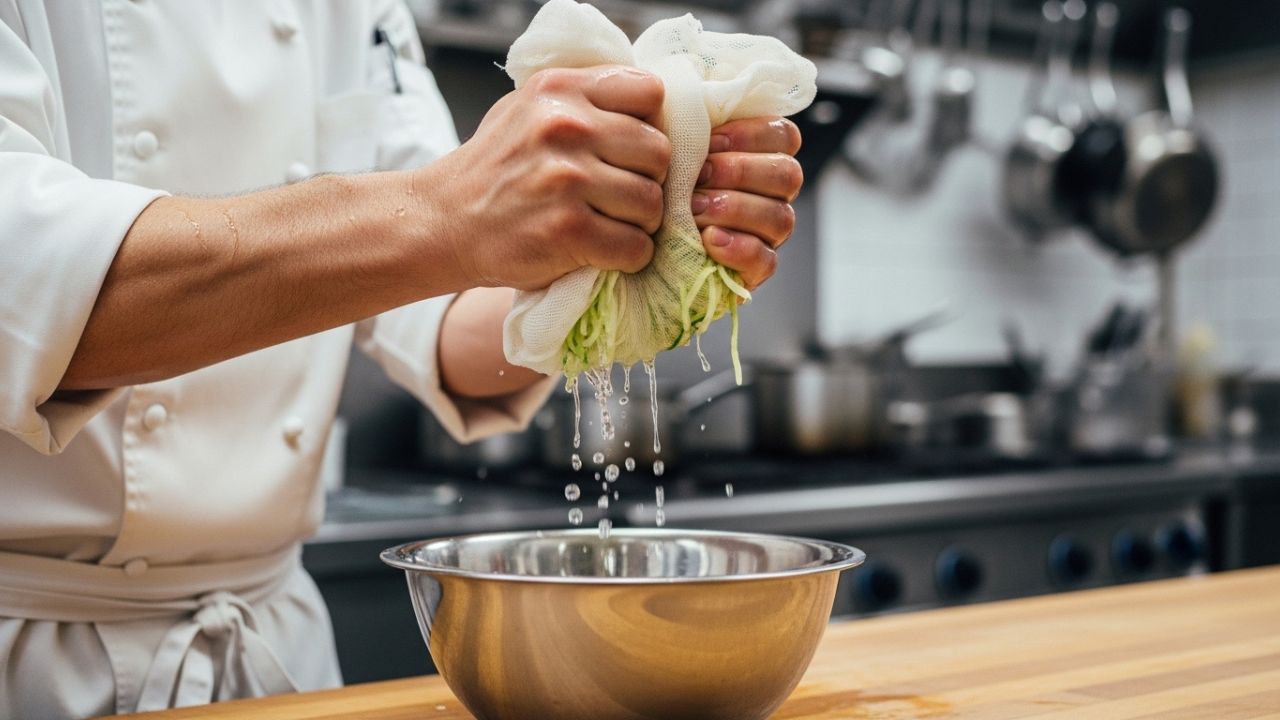
1. Removing Excess Moisture
This step makes the biggest difference. Vegetables like potatoes and zucchini release a lot of water. Salting them lightly and squeezing out the excess moisture helps achieve a crisp finish.
2. Mixing the Ingredients
Combine the drained vegetables with egg, flour, and seasoning. Mix gently until just combined. Overmixing can make the texture dense.
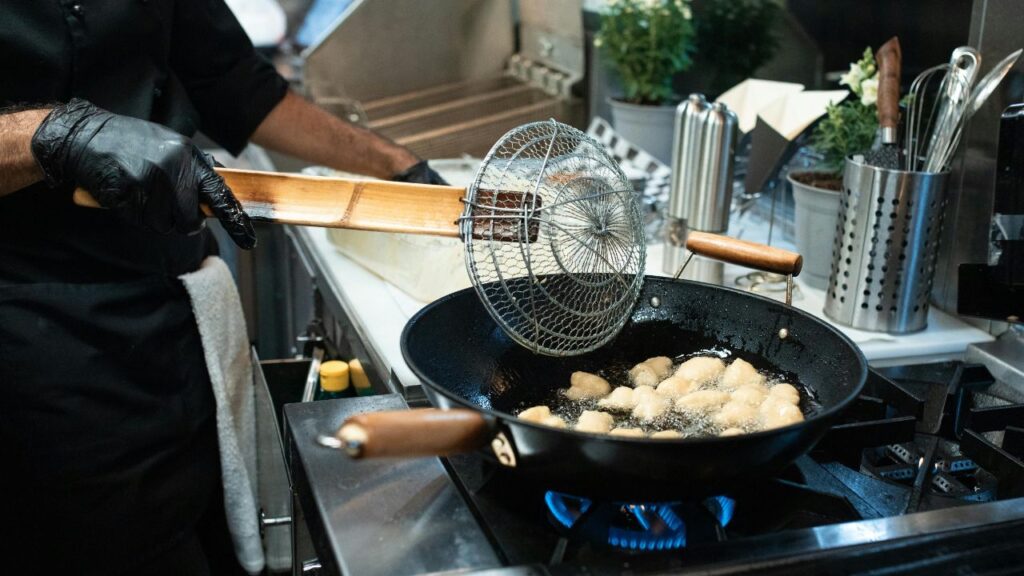
3. Heating the Oil
Use a shallow pan with enough oil to coat the surface. Test with a small drop of batter—it should sizzle immediately without burning.
4. Shaping in the Pan
Spoon the mixture into the pan and flatten it gently into a round shape. Once it’s in, avoid touching it too much so a crust can form properly.
5. Cooking and Flipping
Let the edges turn golden before flipping. Once both sides are evenly browned and crisp, remove from the pan.
Expert Techniques for Better Results
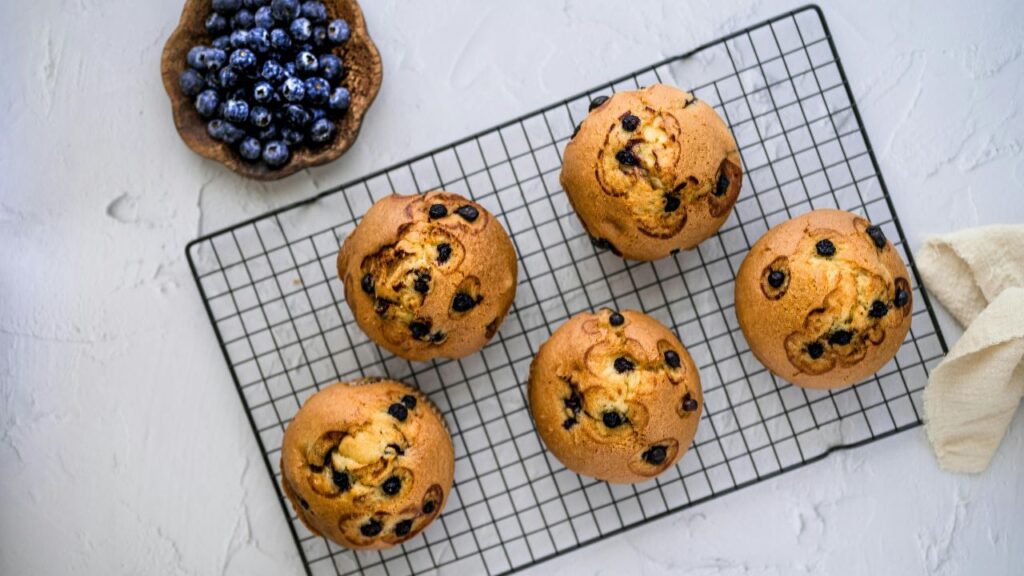
Small adjustments can noticeably improve texture. Placing cooked pieces on a wire rack instead of paper towels helps keep them crisp. Paper towels tend to trap steam underneath, which softens the crust.
Chilling the mixture slightly before frying can also improve structure, helping it hold its shape better in hot oil. Some cooks prefer a light double-fry approach—briefly frying once, resting, then frying again for extra crunch without drying the inside.
Managing Heat and Oil Correctly
Heat control is one of the most important parts of the process. If the oil is too hot, the outside burns before the inside cooks. If it’s too cool, the mixture absorbs oil and becomes greasy.
A steady medium heat is ideal. You should see gentle bubbling around the edges, not aggressive splattering or smoke. It also helps to avoid overcrowding the pan, as too many pieces at once will lower the oil temperature.
Common Pitfalls and How to Avoid Them
A few common mistakes can affect the final result:
Flipping too early: may cause the pieces to fall apart
Too much moisture: leads to soggy texture
Overcrowding the pan: prevents proper crisping
Incorrect binder balance: can cause breaking or heaviness
Practical Preparation and Storage Tips
You can prepare the vegetable mixture ahead of time, but it’s best to add salt and binding ingredients just before cooking to avoid excess moisture buildup.
Leftovers are best reheated in a pan or oven. Microwaving tends to soften the crisp crust, which reduces the texture quality.
Simple Variations to Explore
Once you’re comfortable with the base method, it becomes easy to experiment:
- Add fresh herbs for brightness
- Use sweet potatoes for a richer flavor
- Mix in spices for deeper taste
- Combine different vegetables for texture variety
These small changes can completely transform the final dish without changing the technique. frying saucer to different meals and preferences.
Final Thoughts
Mastering this dish is less about strict rules and more about understanding a few simple principles—moisture control, heat balance, and texture management. Once you get comfortable with these basics, the process becomes intuitive. With practice, you’ll consistently produce crisp, golden results that work for everyday meals or casual gatherings. You can also experiment with versatile pan-based recipes to expand your culinary repertoire. It’s not just about following a recipe—it’s about learning how the ingredients behave when they meet heat.
Frequently Asked Questions
1. Why are my frying saucers falling apart?
This usually happens when there isn’t enough binding or when they are flipped too early.
2. Can I make them gluten-free?
Yes, rice flour or chickpea flour are great alternatives.
3. What oil is best for shallow frying?
Neutral oils with a high smoke point, like vegetable or canola oil, work well.
4. How do I keep them warm during cooking?
Place them on a wire rack in a low oven until serving.